Xbox Remote Play — XStreaming
Use Virtual Controller and XStreaming Desktop for Xbox Remote Play.
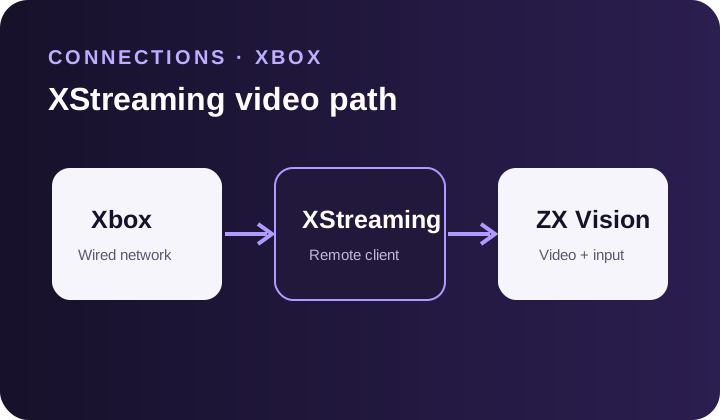
Use Virtual Controller in ZX Vision to send your controller input to XStreaming Desktop. Your capture card supplies the game video. This output mode is included at no extra charge.
Follow this page in order: ZX Vision output, then XStreaming, then your script.
Before You Start
- Install ZX Vision and select your capture card using Install & Capture.
- Install ViGEmBus, then reboot the PC. Install XStreaming Desktop too. Both are linked in Downloads.
- Use wired Ethernet between the PC and Xbox. If Xbox connects through the PC rather than directly to the router, complete Network Sharing.
- HidHide is optional. It can help with double inputs, but it is not needed to start output.
1. Start ZX Vision's Virtual Controller
Keep XStreaming, games, and other controller apps closed for now. If Steam is open, fully exit it from its system-tray icon.
- 1. Open ZX Vision.
- 2. Set OUTPUT to Virtual Controller.
- 3. Connect your physical controller to the PC.
- 4. Choose it in Input Selection.
- 5. Check that ViGEm Client is available.
- 6. Click Start in the Virtual Controller output panel.
Check: Virtual Output should show the virtual controller instead of Not started. If it fails, close other virtual-controller apps and retry.
2. Connect XStreaming
- 1. Open XStreaming Desktop.
- 2. Go to Settings, then Gamepad.
- 3. Select ZX Vision's Xbox 360 virtual controller.
- 4. Connect to your Xbox in XStreaming.
- 5. Open your game on Xbox.
Gamepad numbering varies. Select the virtual controller by name rather than assuming it is always gamepad 1.
3. Check Video and Start Your Script
Keep Capture Settings set to Source, Device selected for your capture card. ZX Vision's Source, Remote Play is built-in PS5 video, not Xbox. This setup still needs a capture card.
- 1. Click Start beside the selected script name in ZX Vision.
- 2. Set the preview to Live.
Connection Ready
Your controller responds in the game, and ZX Vision's preview shows the capture-card picture updating. Starting output alone does not start the script.
The output button may show Managed while the script is running. Stop the active script before changing output modes.