Basketball — Settings
Configure meter detection, timing, tempo, 3 Icon, input mappings, and profiles.
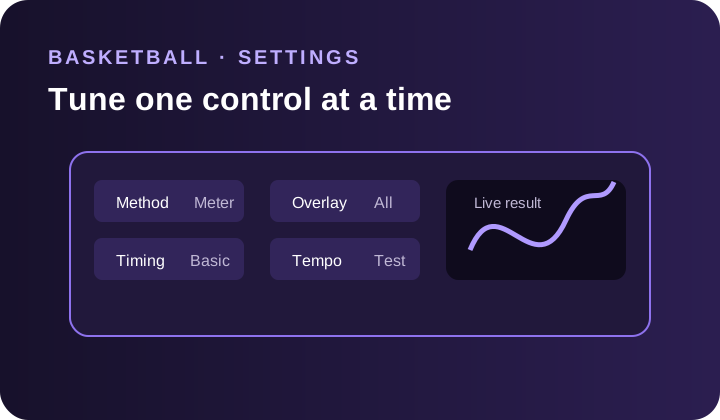
Use this page when you want to change a specific setting. New to the script? Start with Basketball — First Shots.
The help buttons in ZX Vision show help for each option. Change one setting at a time and test the same shot several times.
Main
- Meter — enables timing with the visible shot meter.
- No Meter — enables timing when the shot meter is not available.
- 3 Icon — uses your player's three-point icon. Requires ZX Vision Link and Sync Value.
- Timing Mode — Basic groups values. Advanced gives separate timing and tempo controls.
- Overlay — choose Meter or All. Use All to check on-screen detection status.
Meter Detection
Set the in-game meter size to Large. The meter style is your choice; try different supported styles and match the selected style in ZX Vision.
Available choices include:
- Meter Type: Arrow2 (27), Arrow2 (26), Dial, Arrow, Straight, Pill.
- Release Method: Distance or Size.
- Meter Color: White, Purple, Yellow, Red, Custom. Use White on 27.
These are available choices, not a requirement to use Arrow2. If you use another game, match the meter color and style in that game.
Color Calibration
Follow the automatic calibration steps first. Wait for Meter Color Calibration saved. If Calibration Recommended appears, calibrate before tuning timing. Click Calibrate again to stop it.
To pick the color yourself:
- 1. Make sure the meter is visible.
- 2. Click the color swatch beside Meter Color.
- 3. Click the meter to pick and save a color sample.
Press Esc or right-click to cancel picking. If detection still needs improvement, run Calibrate. Advanced lets you edit the color range manually; try automatic calibration first.
Timing
Basic Timing
- Normal Timing — normal shots, fades, dunks, layups, and free throws.
- Rhythm Timing — rhythm shots, rhythm fades, and go-to shots.
- Tempo — rhythm-shot tempo.
Advanced Shot Timing
Use Timing Mode, Advanced when different actions need their own values:
- Normal Shot — standing normal shots.
- Normal Fading Shot — normal fades.
- Rhythm Shot — standing rhythm shots.
- Rhythm Fading Shot — rhythm fades.
- Go-To Shot — go-to shots.
Advanced mode offers Standing Tempo, Fading Tempo, Go-To Tempo, and No Dip Tempo. Rushed or fast means increase; slow means decrease. Change tempo separately from release timing.
No Meter
Enable No Meter under Main to show these settings.
Timing options include Rhythm Shot, Go-To Shot, Fade Left, Fade Right, and Rhythm No Dip Shot. For timing, early means increase and late means decrease.
Tempo options include Tempo for standing and no-dip rhythm shots, Fade Tempo for fading rhythm shots, and Go-To Tempo for go-to shots. For tempo, rushed or fast means increase; slow means decrease. Adjust tempo separately from the No Meter timing values.
3 Icon
Complete the Basketball 3 Icon setup before changing these settings. It requires ZX Vision Link and Sync Value.
These release delays adjust 3 Icon shot release timing, not the delayed-meter appearance. For that appearance with Meter, use ZX Vision Link and Sync Value.
- Standstill Release Delay — increase only when standing shots are early.
- Fade Release Delay — increase only when fades are early.
With Meter off and 3 Icon on, the meter timing sliders are hidden. Use these delays for release timing and Tempo for rhythm-shot tempo.
ZX Vision Link Modes
ZX Vision Link works with Meter, No Meter, and 3 Icon. Sync Value controls cue delay in all three modes.
When using Sync Value, wait for ZX Vision Link's court icon to turn green before shooting. Orange means Sync Value is still adjusting.
- Sync: Off, Sync Value, or Full Desync. Choose one at a time.
- Normalization: Off, Adaptive, or Legacy. Choose one at a time.
With Meter, Sync Value creates an optional delayed-meter appearance. No Meter can also use Sync Value, but does not require it. 3 Icon requires Sync Value. The 2.6 starting value and release-delay tuning are for 3 Icon only, not Meter.
If you choose Full Desync for a different timing setup, enable it before getting onto a court.
Input Mappings
Choose an action for Right Stick, L1 / LB, SQ / X, and DPAD Down. Each offers:
- Off
- Rhythm Shot
- Go-To Shot
- Dunk Meter
- Layup
Off disables the script remap for that input. Leaving SQ / X off keeps normal button shots available.
Test a Remapped Button
- 1. Start Basketball, enter a practice game, and have the ball in hand.
- 2. Note your current L1 / LB mapping. Set Input Mappings, L1 / LB to Rhythm Shot.
- 3. Press and hold L1 / LB. Check whether your player starts a shot.
- 4. If yes, ZX Vision's mapped input reaches the game. This does not confirm correct shot release or timing.
- 5. If no, recheck that Basketball is running and the mapping is selected. If using Virtual Controller, check the target controller and opening order. Otherwise, check your output connection.
Extras
- R3 Remap — makes R3 act like SQ / X. Useful when SQ / X is remapped.
- Unlimited Stamina — lose less stamina while running. Does not apply to dribbling.
- Spot Spammer — repeatedly activates Got Next while waiting for a spot in the Park.
Profiles and Fine-Tuning
The Profile selector stores settings for the selected script.
- 1. Open Profile, then Add.
- 2. Start from defaults or copy an existing profile.
- 3. Select the profile you want to use.
- 4. Adjust your settings. Changes save automatically to that profile.
Keep separate profiles for different builds or setups. Values may change between games and game modes. For a small early/late correction, try a 1–2 unit timing-slider change, then test again. Follow the adjustment direction above.
Use the separate instructions for 3 Icon's Sync starting value and Adaptive Adjustment; do not apply the timing-slider step size to those controls.