Basketball — First Shots
Choose Meter, No Meter, or 3 Icon and complete the first Basketball detection and timing tests.
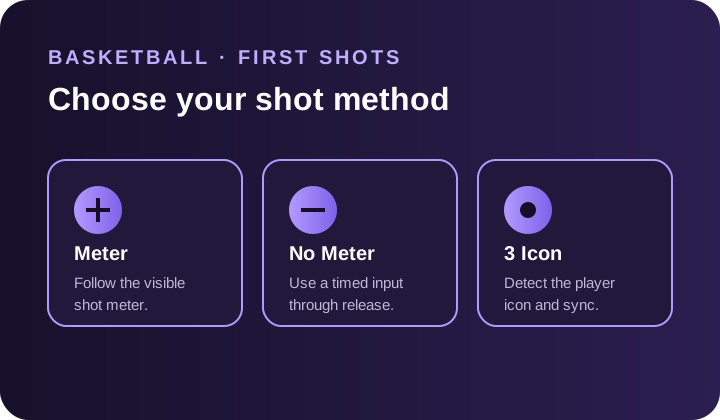
Selected Basketball? This page covers your first Meter, No Meter, and 3 Icon shots. Use Basketball — Settings for every option and ZX Vision Link for its connection and Sync controls.
Before you start, finish capture and output setup. Check that the preview shows your game and your controller can move around the game menus.
Hold your shot button or stick through the release. You start the shot; ZX Vision releases for you.
1. Choose Your Method
Open Basketball, then Main. For your first test, enable only the method you want to use:
- Visible shot meter — Meter.
- Shots without a visible meter — No Meter.
- Your player's three-point icon — 3 Icon. This requires ZX Vision Link and Sync.
ZX Vision Link can be used with all three methods. Its Sync Value controls cue delay; it is optional for Meter and No Meter, but required for 3 Icon.
Start with Timing Mode, Basic. Set Overlay to All when you want to check detection on screen.
Meter: Use the Shot Meter
- 1. In the game, choose any shot meter style you prefer. Try different styles to see which works best for you.
- 2. Set the in-game shot meter size to Large.
- 3. In ZX Vision, turn on Meter and match Meter Type to your chosen style.
- 4. For 27, set ZX Vision's Meter Color to White. For older versions, select a color such as Purple.
- 5. Start with Release Method set to Distance.
- 6. Check the live preview.
Color Calibration
This helps ZX Vision recognize your meter's color.
- 1. Click Color Calibration, then Calibrate.
- 2. Hold your shot input and take shots so the meter stays visible.
- 3. Wait for Meter Color Calibration saved.
Click Calibrate again if you want to stop. If you see Calibration Recommended, complete this step before changing timing.
First test: take the same standing shot a few times. For a normal button shot, use Normal Timing. For a rhythm shot, use Rhythm Timing. With Distance, early means decrease that value; late means increase it.
Optional delayed-meter appearance: use ZX Vision Link, Sync, Sync Value to choose your preference.
No Meter: Use Timed Shots
- 1. Turn on No Meter under Main.
- 2. In Input Mappings, set the input you want to use to Rhythm Shot.
- 3. Hold your chosen input to take a standing shot.
- 4. Test the same shot several times.
Use the No Meter timing and tempo directions in Basketball — Settings. Missing shot-meter detection is expected in this mode.
3 Icon: Check Detection
Before checking detection, make sure Basketball is running and the preview is Live. Starting Link alone does not start Basketball. If your video or controller is not ready, complete capture and controller setup first.
- 1. In the game, set Customize HUD, Ball Handler Text, Number and Position.
- 2. In ZX Vision, turn on Basketball, Main, 3 Icon.
- 3. Set Overlay to All.
- 4. Look for 3 Icon Detected while your player's icon is visible.
Not detected? Recheck Ball Handler Text, Number and Position, then follow 3 Icon detection help. Get detection working before changing timing.
3 Icon Only: Set Sync, Then Release Delay
This tuning procedure is for 3 Icon only. For Meter's optional delayed appearance, adjust Sync Value to your preference instead; these starting values and early-feedback steps do not apply.
For 3 Icon, start with:
- Sync Value: 2.6
- Standstill Release Delay: 0 ms
- Fade Release Delay: 0 ms
These are starting values, not final values for everyone.
Before each test shot, wait for ZX Vision Link's court icon to turn green. Orange means Sync Value is still adjusting, including after you change the value.
Adjust and Save
Change one setting at a time and test several similar shots. Use the adjustment direction that matches the feedback.
Shot timing can vary between games and game modes. A 1–2 unit timing-slider change is a useful starting point for a small correction, not a fixed limit. Sync Value and Adaptive Adjustment have their own steps.
Once you like your settings, keep them in a Profile. Changes save automatically to the selected profile.